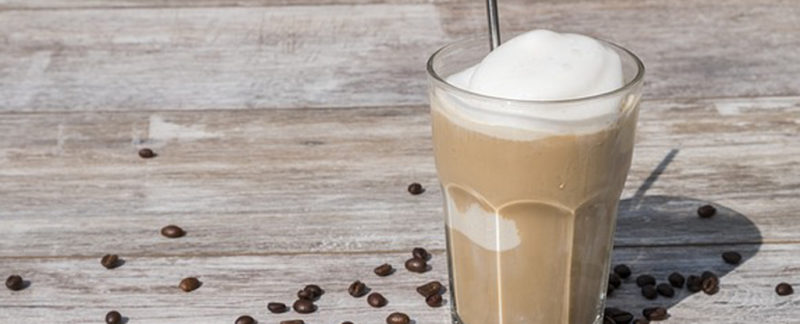
Cardamom and coffee are old pals. Cardamom is a is a spice known to have a strong, pungent flavor with hints of lemon, mint, and smoke. It is traditional in the Middle East to add it to coffee. If you haven’t tried the combination it is absolutely a must, and with this ice cream recipe the sweetness and coconut milk flavor adds just the right amount of pop! My favorite way to enjoy this ice cream is as a floater to cold brew iced coffee. It’s like having a treat in the morning without the sugar and all the flavor.
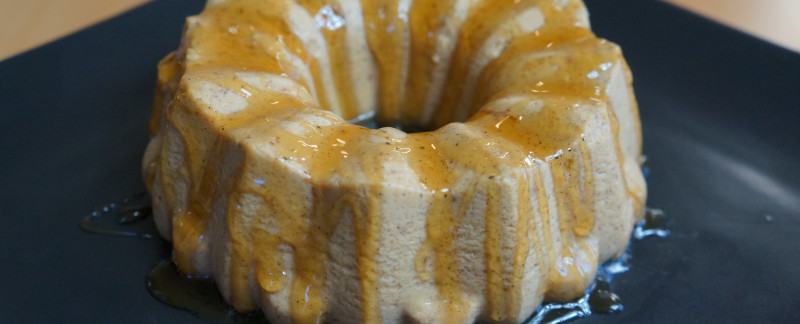
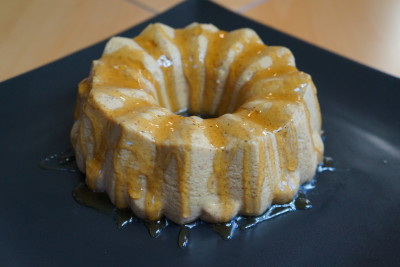
Coffee and Cardamom Ice Cream
Author: Jennifer Knollenberg
Nutrition Information
- Serves: 6 servings
- Calories: 157
- Fat: 12.2g
- Carbohydrates: 13.4g
- Fiber: 10.6g
- Protein: 1.5g

Ingredients
- 13.5 oz canned coconut milk or cream
- ⅓ cup xylitol, divided
- Pinch pure powdered stevia
- 1 tbsp instant coffee
- 3 large egg yolks
- ½ - 1 tsp freshly ground cardamom
- 2 tsp vanilla
- Pinch of salt
Instructions
- Combine the coconut milk, all but 1 tbsp of the xylitol, stevia, instant coffee and cardamom in a heavy bottomed sauce pan over medium-high heat. Heat until bubbles just start to form around the edge of the pan. Take off the heat and set aside.
- While the milk is heating, whisk together the egg yolks, 1 tbsp xylitol and salt. Slowly whisk in the hot cream mixture and then return it to the sauce pan and set it back over medium heat stirring constantly until the mixture coats the back of a wooden spoon; about 5 minutes (do not allow it to boil). Stir in the vanilla and transfer to a small bowl set over an ice water bath. Allow to sit and cool stirring every 5 minutes until chilled. Cover surface of the custard with plastic wrap and place in the refrigerator overnight to intensify flavors and chill properly.
- Once chilled, place into ice cream maker and follow manufacturer’s instructions to make ice cream. Serve immediately or put into a freezer-safe container and freeze for up to one month. Makes about 3 cups. Each serving is ½ cup.
Notes
NC: 2.8g
SugarOH: 10.7g
SugarOH: 10.7g