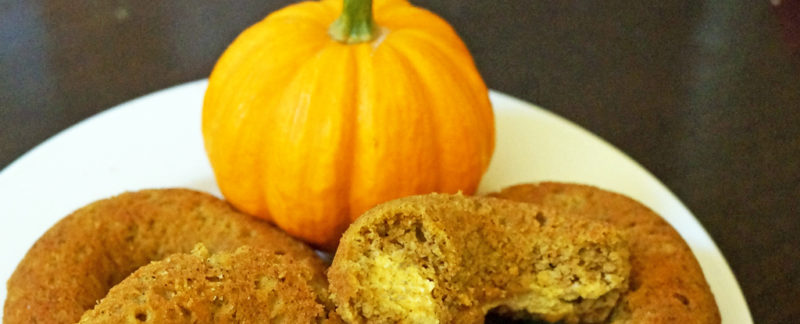
Pumpkin Cheesecake Donuts
Author: Jennifer Knollenberg
Nutrition Information
- Serves: 6
- Serving size: 1 donut
- Calories: 270
- Fat: 22.4g
- Carbohydrates: 15.7g
- Fiber: 10.6g
- Protein: 8.3g
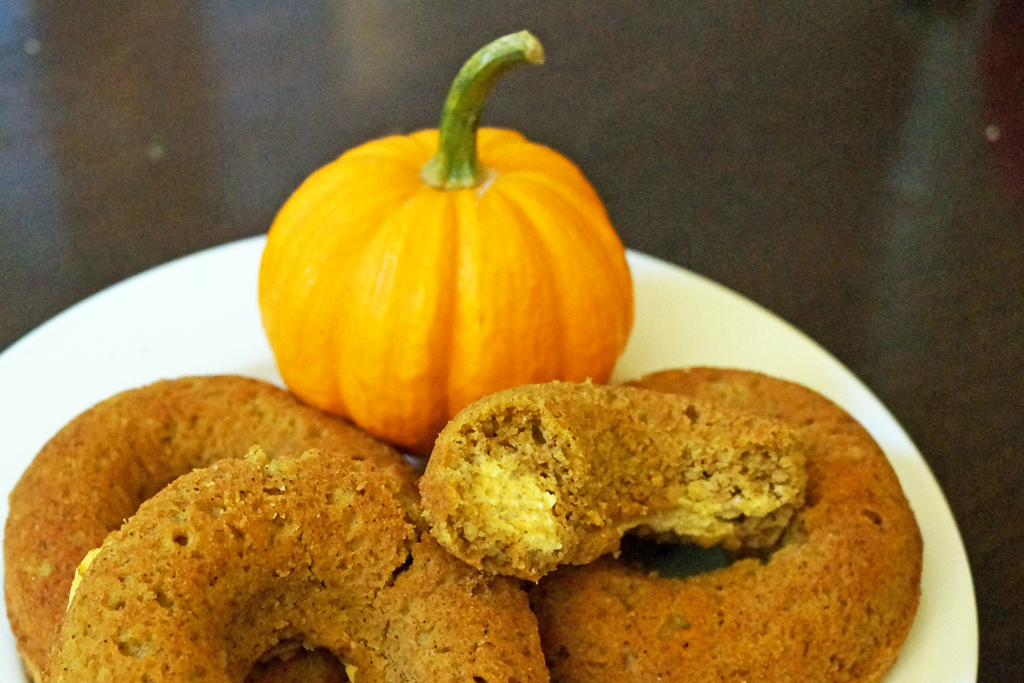
National Filled Donut Day! Temptations abound when the fall season hits. These pumpkin donuts filled with rich cheesecake are no exception. It doesn't take an expert to make these at home, you can squeeze them out in no time! See the directions for how to easily squeeze these into your morning routine.
Ingredients
- Donuts:
- 2 eggs
- ⅓ cup pumpkin puree
- 2 Tbsp erythritol, powdered
- 1 Tbsp xylitol, powdered
- 1 pinch pure powdered stevia
- 2 tbsp coconut milk
- 2 Tbsp unsalted butter, melted
- 2 tsp vanilla
- 1 cup almond meal
- 3 Tbsp coconut flour
- 1 tsp powdered psyllium husk
- 1 ½ tsp cinnamon
- ¾ tsp ginger
- ½ tsp nutmeg
- ¼ tsp all spice
- ¼ tsp cloves
- ¾ tsp baking powder
- ¼ tsp salt
- Filling:
- 4 oz cream cheese, room temperature
- 2 tbsp pumpkin puree
- 2 pinches stevia
- 1 tsp lemon juice
- 1 tsp lemon zest
- 2-3 drops lemon essential oil (optional)
Instructions
- Preheat the oven to 350°F. Grease a 6-well donut pan and set aside. Powder the erythritol, xylitol and 1 pinch of stevia in a blender, pulsing until fine.
- Whisk the eggs and pumpkin puree together. Whisk in the powdered sweeteners, coconut milk, butter and vanilla until thoroughly combined.
- Add the almond meal, coconut flour, psyllium husk powder (optional; it helps to keep the donuts from falling apart after baking), spices, baking powder and salt mixing until fully incorporated and thick. Set aside.
- In a small microwave safe bowl, heat the cream cheese until slightly warm and whisk until smooth. Add the pumpkin puree, stevia, lemon juice, lemon zest and essential oil if using (tangerine is also delicious in this recipe). Whisk until creamy then add to a zip top bag, cut the corner about ¼-inch and set aside.
- Fill each donut well about ⅓ full and spread evenly with a spatula. To do this easily, fill a zip top bag with the batter and cut off one corner (about ½ inch). Squeeze about ½ of the batter into the wells and spread out with a spatula. Now add the cream cheese filling placing it in the center of the batter around the ring (so there is batter on all sides). Pipe the remaining batter over each cheesecake ribbon and using a spatula or finger tips be sure that all the cream cheese is covered with batter without disturbing it too much. You shouldn’t see any cheese peeking through anywhere.
- Bake for 22-25 minutes until the donuts are puffed and golden. Remove from the oven and allow the donuts to sit in the pan for 10 minutes to cool. Keep in an airtight container in the refrigerator for up to one week. Makes 6 donuts.
Notes
NC: 5.1g
SugarOH: 6g
SugarOH: 6g