Probiotic NY-Style Non-Dairy Cheesecake

Probiotic Cheesecake?  What in the world is that, you may ask.

Probiotic foods are quite popular for a very good reason.  Probiotics are the healthy bacteria that normally reside in your gut.  They are highly beneficial to our health and are best when served within their natural habitat (in other words with the foods they like to eat and can grow from).

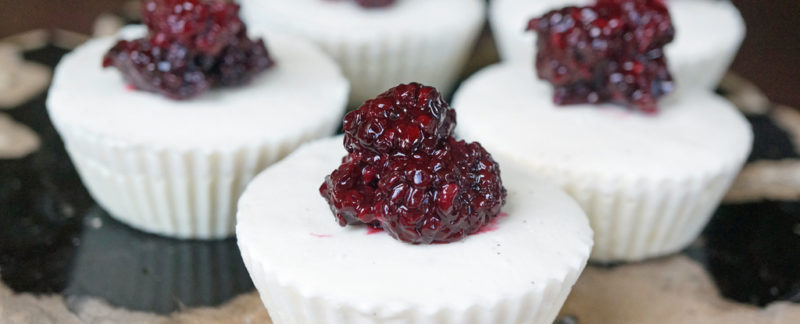
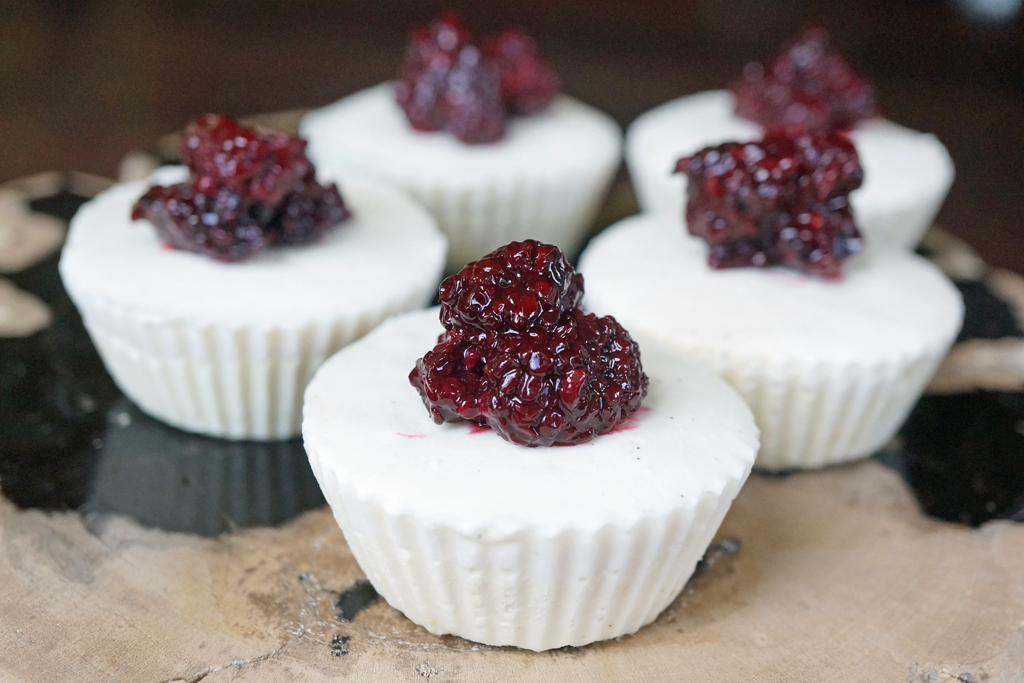
This cheesecake,  aside from being creamy, healthy and dairy free, is quite possibly one of the healthiest desserts around!

To make it cashews are cultured with probiotics (much like yogurt) and since it is not cooked the probiotics remain active.  A luscious probiotic sour “cream” made from coconut milk is added to the top.  As always it is sugar free and low in carbs.

I added a quick blackberry topping to give it some color and decadence.  Try topping it with your favorite berry!

Sweet Synergy


More delicious recipes in my book, Sweet Synergy!


Probiotic NY-Style Non-Dairy Cheesecake
 
Author: 
Nutrition Information
  • Serving size: 1
  • Calories: 150
  • Fat: 12.2g
  • Carbohydrates: 8.6g
  • Fiber: 3.2g
  • Protein: 3.3g
Ingredients
  • Cheesecake Filling:
  • 2 cups raw cashews
  • 2 probiotic capsules (or ¼ cup unsweetened coconut yogurt or whey from milk or coconut kefir)
  • 2 tbsp coconut oil
  • 1 lemon (zested and juiced, 2 tsp zest and 2 tbsp juice)
  • 2 tbsp xylitol, powdered
  • 2 pinches pure powdered stevia
  • 2 tbsp unsweetened coconut milk or water
  • 1 tsp gelatin
  • 2-3 drops lemon essential oil (optional)
  • Cheesecake Topping:
  • 14oz can of unsweetened coconut milk or cream
  • 2 probiotic capsules (or ¼ cup unsweetened coconut yogurt or whey from milk or coconut kefir)
  • 2 tbps xylitol, powdered
  • 1 pinch pure powdered stevia
  • 2 tsp vanilla extract
  • 2 tbsp unsweetened coconut milk or water
  • 1 tsp gelatin
Instructions
  1. Filling:
  2. Soak nuts overnight or for at least 8 hours and as much as 24 hours in a large bowl with filtered water. Drain and place in a blender with the coconut oil.
  3. Blend until the cashews become a very fine paste adding water a tablespoon at a time if necessary to create a very smooth and thick mixture.
  4. Break open the probiotic capsules (or add the other options) and add to the nut mixture. Blend for 1-3 pulses until combined.
  5. Pour mixture into a bowl, cover loosely with a clean kitchen towel or clean paper towel and place in a dark area in your kitchen (I place mine in a cabinet so it won’t be disturbed and won’t be affected by light). Allow the probiotic cashew mixture to sit undisturbed for 24-48 hours. Test after 24 hours to see if it is sour enough for your taste. Place in the refrigerator in a container with a tight fitting lid.
  6. After both the filling and topping (below) have been cultured (either before or after refrigeration) stir the lemon zest, lemon juice, xylitol and stevia (add lemon essential oil now too if using) into the cheesecake filling. Set aside.
  7. Place the coconut milk into a small microwavable bowl and sprinkle the gelatin over the top; allow to rehydrate for 2-3 minutes then microwave for 10-15 seconds until all the gelatin has melted and appears clear (do not boil). Add 2-3 tbsp of the cheesecake filling to the bowl of gelatin and stir until blended then blend that into the rest of the filling. Set aside.
  8. Topping
  9. Heat the coconut milk to 115°F, remove from heat and set aside to cool down to 100°F.
  10. Once the milk has reached 100°F, break open the probiotic capsules and sprinkle them onto the warm milk. Whisk until uniform. Pour mixture into the container of your yogurt maker or pour into a container with a cover (not airtight) and set in a warm location in your kitchen (an oven with the oven light on works fine) for 18-24 hours.
  11. After the coconut milk has cultured, place into a container and blend in the xylitol, stevia and vanilla until smooth. Set aside.
  12. Place the coconut milk into a small microwavable bowl and sprinkle the gelatin over the top; allow to rehydrate for 2-3 minutes then microwave for 10-15 seconds until all the gelatin has melted and appears clear (do not boil). Add 2-3 tbsp of the cheesecake topping to the bowl of gelatin and stir until blended then blend that into the rest of the topping. Set aside.
  13. Putting It All Together:
  14. At this point both the filling and topping are cultured and all the ingredients have been added for both. Placing them in the refrigerator at this point will produce thickened filling and topping – it will set the gelatin. Both the filling and topping can be made up to a week in advance and stored in the refrigerator for optimal flavor and sour taste as long as they are made without the gelatin. The gelatin can be added just before assembling.
  15. Prepare a sheet pan with 14 silicon regular muffin cups (alternatively paper cups can be used in a muffin tin). Using a 3 tbsp scoop, scoop 3 tbsp filling into each muffin cup and then top with 1 tbsp of topping (you will have extra topping, use it to make a sugar-free granola parfait with berries – it’s delicious!) Place the sheet pan in the refrigerator for at least 8 hours for the gelatin the fully set. When you plan to serve them, pop them in the freezer for an hour so they are easier to remove from the silicon or paper. Makes 14 regular muffin-sized cheesecakes or 1-9-inch cheesecake (in a spring-form pan; use all of the filling and 1 cup of the topping). Keep leftovers in a tightly sealed container in the refrigerator for up to 1 week or in the freezer for up to 1 month.
Notes
Net Carbs: 5.4g
SugarOH: 13g


More delicious recipes in my book, Sweet Synergy!

Sweet Synergy


    More delicious recipes in my book, Sweet Synergy!


Want to learn more?
    More delicious recipes in my book, Sweet Synergy!


More delicious recipes in my book, Sweet Synergy!


Simple Liquid Stevia

Liquid stevia makes a versatile and terrific sweetener and it can be made very inexpensively.

I use liquid stevia almost exclusively to sweeten liquids.  This is because it is very stable at room temperature (it does not go bad or get moldy) and it is already dissolved so I won’t get an extra sweet mouthful of coffee in my last sip!  It blends effortlessly into hot or cold liquids.

Stevia does not contain carbohydrates nor calories.  It has a glycemic index of 0.  That means it won’t affect your blood sugar at all.

Simple Liquid Stevia:

1 tsp pure powdered stevia (I prefer NuNaturals or NOW brand Better Stevia)

3 tbsp filtered water

1 oz dropper bottle

Optional Awesome Flavorings:

  1. Add 3 tsp vanilla, almond, pistachio or even chocolate extracts.
  2. Add 3-5 drops of Pure essential oils (I recommend DoTERRA brand, please do not consume essential oils if they do not have a supplement label on the bottle!)  My favorite flavors are:  lemon and orange.

I purchase essential oils from DoTERRA because I trust the company and feel they have a strong business philosophy, care for the environment and products that I can stand behind. If you would like to buy the same oils that I use you can purchase them HERE. Note: There are also some great essential oil recipes on the site!

If you would like to learn more about the company visit DoTERRA.

Still Have Questions?
CONTACT ME with questions

There will always be more exciting gluten-free, sugar-free and low-carb recipes and tips for using essentials oils in them here! Please check back often. Or sign-up for my newsletter HERE.

Now That’s Sweet!
Jennifer

Citrus Zucchini Bread

Citrus Zucchini Bread
 
Author: 
Nutrition Information
  • Serves: 14
  • Serving size: 14
  • Calories: 183
  • Fat: 14.4g
  • Carbohydrates: 15.8g
  • Fiber: 13g
  • Protein: 5.8g
Citrus zucchini bread is a fantastic riff on classic zucchini bread incorporates yellow squash, cardamon and fresh citrus.
Ingredients
  • ½ cup toasted unsweetened shredded coconut
  • 1 ½ cups finely shredded zucchini (yellow squash!)
  • 1 tsp lemon juice
  • 1 Tbsp lemon zest
  • 1 Tbsp vanilla
  • 1 ½ cups almond flour
  • ¼ cup chia seed flour
  • 2 tbsp coconut flour
  • 2 tsp cinnamon
  • 1 tsp cardamom
  • ½ tsp nutmeg
  • 1 ½ tsp baking powder
  • ½ tsp salt
  • Pinch pure powdered stevia
  • 4 large eggs
  • ¼ cup coconut oil, melted
  • ⅓ cup erythritol
  • ⅓ cup xylitol
Instructions
  1. Preheat oven to 350°F. Toast coconut for 5-8 minutes until light golden and set aside to cool. Increase oven temperature to 375°F. Prepare a 5x7-inch loaf pan by placing a piece of parchment on the bottom and spraying it and the sides with oil.
  2. Grate the zucchini and squeeze out as much water as possible then place it in a small bowl with the lemon juice, lemon zest and vanilla. Set aside.
  3. In a small bowl whisk to combine the almond flour, chia seed flour, cinnamon, cardamom, nutmeg, baking soda, salt and stevia. Set aside. In a medium bowl, whisk together the eggs, coconut oil, erythritol, and xylitol. Add the flour mixture and blend into a smooth batter. Then add the zucchini mixture blending to combine. Fold in the chopped pecans.
  4. Bake for 20 minutes at 375°F then turn the oven down to 350°F and continue to bake another 30-35 minutes until light golden brown and set in the center. If the bread begins to brown too much on top cover it with aluminum foil and continue baking. Remove from oven and allow the bread to cool in the pan for 10 minutes before removing to a cooling rack. Enjoy immediately or refrigerate for up to 1 week or freeze tightly wrapped for up to 3 months. Serve at room temperature or toasted.
  5. Optional: Add 6 drops of certified pure lemon essential oil and 7 drops of certified pure grapefruit essential oils to the batter. ALSO this bread is delicious served with a cream glaze made with 3 Tbsp erythritol (powdered), 2 Tbsp heavy cream and ½ tsp vanilla. Add additional essential oils as described above to your taste and then whisk until fully combined. Drizzle over bread and serve!
Notes
Net Carbs : 2.8g
SugarOH: 9.1g
 

Lemon Chiffon Coconut Cake

This cake is wonderful enhanced with essential oils. Try adding 1-3 drops of lemon, lime, bergamot, orange or lavender!

Lemon Chiffon Coconut Cake
 
Author: 
Nutrition Information
  • Serves: 12
  • Serving size: 1 slice or ¼ th of one cake
  • Calories: 190
  • Fat: 13.1g
  • Carbohydrates: 14.8g
  • Fiber: 11.7g
  • Protein: 7.3g
Ingredients
  • 14 large egg whites
  • ½ tsp cream of tartar
  • ½ cup unsalted butter, melted
  • ½ cup coconut milk
  • 7 egg yolks
  • ⅓ cup xylitol
  • 3 tbsp erythritol
  • Pinch pure powdered stevia
  • 2 tsp lemon zest
  • 1 tsp vanilla
  • ½ tsp salt
  • 1 cup coconut flour, sifted
  • 1 tsp baking powder
Instructions
  1. Preheat oven to 325°F. Prepare 3 mini Bundt pans or one large Bundt pan with oil. Set aside.
  2. Combine the egg whites and cream of tartar in a large bowl. Use a handheld or standing mixer to beat the egg whites until stiff peaks form. Set aside.
  3. In a medium bowl whisk together the melted butter, coconut milk, egg yolks, sweeteners, lemon zest, vanilla and salt. Once fully combined add the coconut flour and baking powder. Blend quickly (the longer it sits the more likely it will become very thick).
  4. Add ⅓ of the egg whites to the coconut mixture and stir to combine. Gently add another ⅓ of the eggs to the mixture and using a spatula fold into the batter. Repeat for the remaining egg whites. Do not overmix, try to keep as much air in the batter as possible.
  5. Fill each pan then bake for 40-45 minutes until fully set, golden on top and it begins to pull away from the sides of the pan. Allow to cool for 15 minutes then invert and continue to cool. The cakes should fall from the pan but some gentle nudging may be necessary. NOTE: a large Bundt pan will require 65-75 minutes to completely bake.
Notes
Net Carbs : 3.1g
SugarOH: 8.3g
 

About Essential Oils

Essential Oils Are Fantastic In The Kitchen!

Essential Oils
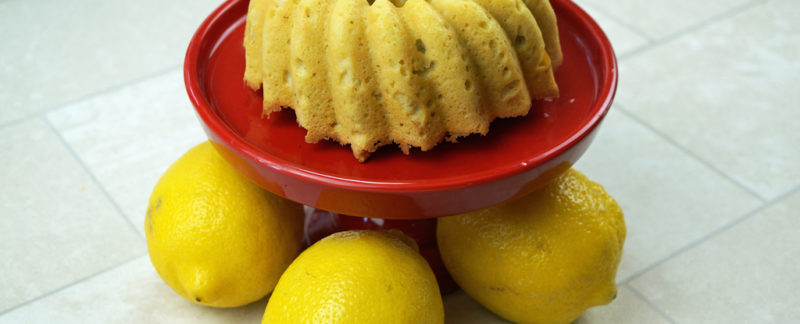
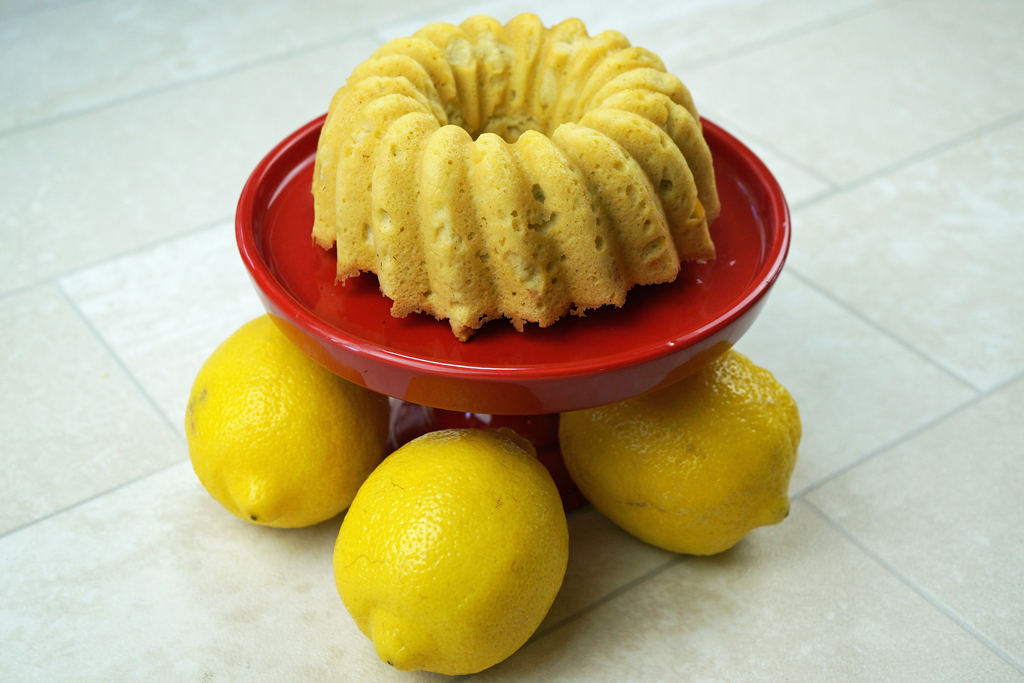
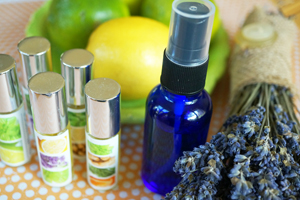
Essential oils are perfect in so many ways but for me as a chef they offer the added benefit of PURE SUPER FLAVOR without sugar or other blood glucose impacting carbohydrates. They simply add so much flavor to your food that your taste buds will be thrilled!

Essential oils have been used in our foods since the dawn of time. Essential oils are consumed every time you eat foods containing common ingredients such as cinnamon, peppermint and citrus. What may surprise you is to learn that these essential oil flavorings are also used in the food industry which started during the Industrial Revolution when advances were made to lengthen the shelf life and flavor of processed foods. But using essential oils for cooking has really only been a phenomenon since the mid-1980’s.

What Are Essential Oils?

Essential oils are the volatile compounds found naturally in a plant. These include the blossoms, bark, fruit, peel, resin, roots, and wood. They are what gives plants their aroma and flavor.

Essential oils are made by several methods: Steam Distillation, Enfleurage, Expression, Pressure Extraction, Solvent Extraction and CO2 Extraction. All produce pure essential oils though some are preferred for specific types of oils.

essentail-oils-2-rQuality of essential oils for consumption is of utmost importance. They must be therapeutic grade and have a supplement fact label on the bottle. There are no exceptions. Do not consider buying an essential oil for consumption unless both of those criteria have been met.

The Food and Drug Administration (FDA) affirms that essentials oils are safe to use as flavoring agents and preservatives as long as the ingredients are Generally Recognized As Safe (GRAS).

Essentially this list lets us know that items on it have a history that is well documented for internal safety.

While the essentials oils sold in most health food stores will tell you that they are safe for consumption it is not worth risking your health consuming a product that has not gone to the trouble of labeling their products with a supplement fact label. If it is not meant for consumption this label would not be allowed on the product. Essential oils may be labeled as supplements as long as they are GRAS. It is simply a step that respected essential oil companies make to ensure that their consumer knows they are safe. I personally, would not choose to consume something from a company that has not taken that extra step. Or if a product does not have a supplement label it simply should not be consumed – EVER! Two examples are Eucalyptus and Cedarwood. There is a reason you will never see a supplement label on these products or products that have them as ingredients – for example, a blend of essential oils containing either of these oils. For more information please see the Dietary Supplement Labeling Guide.

So with these three safety tips in mind:

  • Therapeutic grade
  • Supplement Fact Label
  • Trusted source

Please only use the following oils for cooking. Oils generally safe for cooking are:

eo-cooking-chart

For more information please visit Internal Use of Essential Oils.

A Note Of Caution

Essential Oils
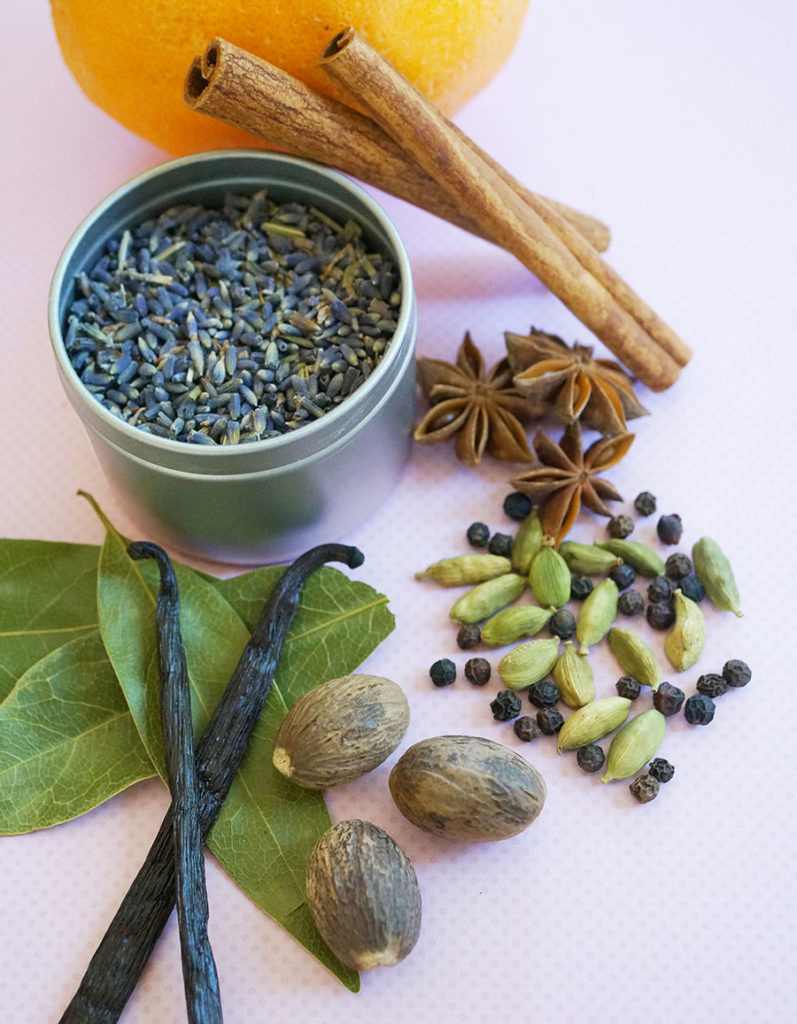
If you have a known sensitivity to a specific plant – do not assume that it is safe or that symptoms will not occur when consuming the same plant as an essential oil. Lavender is a good example. Some people are sensitive to lavender plants. Lavender essential oil is 50-100 times a concentrated as a single stalk of it in your garden. Test any only you are suspicious of by inhaling from an open bottle. If any irritation is noticed it is recommended that you do not use the oil externally or internally. Also keep in mind the smell of any essential oil will be very strong due to its intense concentration. The good news is that you only need 1-2 drops and sometimes only a toothpick dip of the oil when cooking so they will be quite diluted in foods.


Where To Buy Essential Oils

Remember do not buy essentials oils at your local health food store for cooking unless they have a supplement fact label and are therapeutic grade. I purchase my essential oils from DoTERRA.

I purchase essential oils from DoTERRA because I trust the company and feel they have a strong business philosophy, care for the environment and products that I can stand behind. If you would like to buy the same oils that I use you can purchase them HERE. Note: There are also some great essential oil recipes on the site!

If you would like to learn more about the company visit DoTERRA.

Still Have Questions?
CONTACT ME with questions

There will always be more exciting gluten-free, sugar-free and low-carb recipes and tips for using essentials oils in them here! Please check back often. Or sign-up for my newsletter HERE.

Now That’s Sweet!
Jennifer